Last week we harvested our garlic. The bulbs are the smallest we’ve ever had. I read that the summer heat plays an important role in the formation of the bulb, and this year we have had an extraordinarily cool summer with record or near-record (depending on who you ask) rainfall. It wasn’t until late last week that we started seeing the typical summer weather (high 70s and 80s) here.
One thing I have noticed in the past is that the smaller bulbs usually have stronger flavor. At least with the variety we grow, the larger the bulb is, the milder the flavor usually is. Still, I like to see the bigger bulbs.
How to Grow Garlic
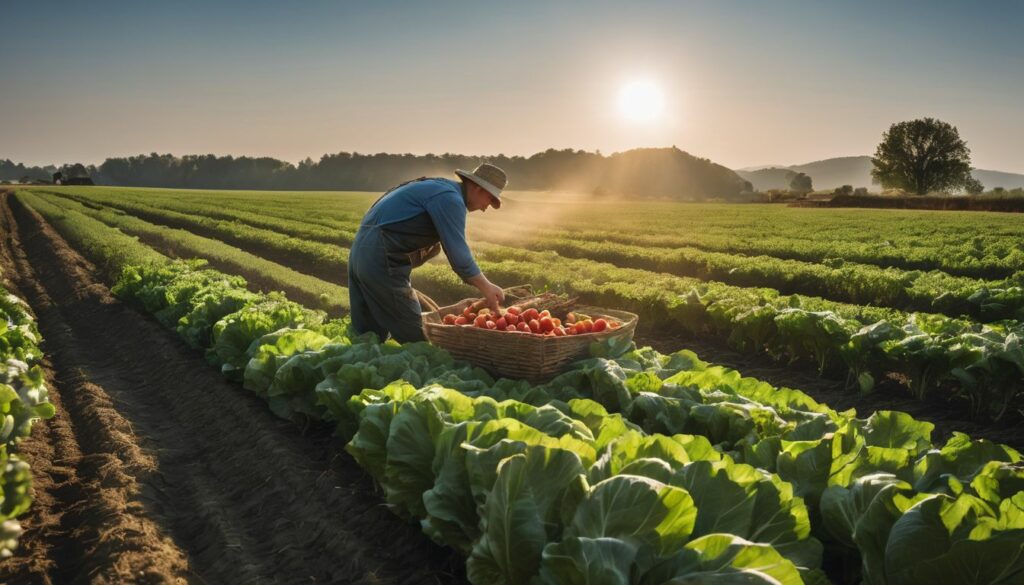
If you aren’t already growing garlic, you may want to give it a try. It’s one of the easiest foods to grow, it tastes great, and we all know how great it is for our immune systems.
Many seed companies offer at least one variety of garlic. My favorite source for seeds and bulbs is Fedco ( http://www.fedcoseeds.com/ ), right here in Maine. They specialize in varieties of plants that grow in cooler climates, but they have ones that will grow anywhere. They also support small-scale and sustainable agriculture by working with many small, local seed producers.
Look through their bulbs catalog ( http://www.fedcoseeds.com/bulbs.htm ) to find a variety of garlic that you like.
You could also just buy some bulbs at your local grocery store, but there’s no guarantee that they will be suited for your local climate.
How to Plant Garlic
Here in the north, we plant our garlic in the fall. I am told that down south it is planted in February, but up here you would need a jackhammer to plant anything in the ground in February. I once, in desperation, planted in April. The bulbs did not grow very large, but it was good enough to propagate my seed for another year.
We plant ours in the second or third week of October. We use an informal raised bed (soil raised 8-12 inches above the ground with about 1/2 inch of compost worked into it each year), but that is not a requirement. You can grow garlic just about anywhere.
Pull the cloves off of the bulbs and plant then, pointed end up, about 6-8 inches apart. You’ll find that as you are pulling the cloves off the bulbs, some of the cloves will lose their protective covering. If the sheath of dry “skin” over the clove breaks off, set it aside for eating unless you are short on seed. It may still grow, but the cloves with intact “skin” will have a better chance of flourishing.
Because we plant in the fall, we add about 2 inches of loose straw (animal bedding works really nicely for us) over the top of the bed. It helps protects the plants over the winter, and it helps with weed control all year long. Don’t put too much straw on the bed, or you may have rodent and fungus problems.
From there on, the garlic is pretty much maintenance-free.
In about three weeks you should see green shoots poking out of the straw. They’ll look just like onion shoots — thick and grass-like. Ours is usually about 6 inches high when the snow flies.
Caring for Your Garlic
As soon as the ground thaws in the spring, you’ll notice that the garlic begins to grow again. You may need to weed occasionally if a weed penetrates the straw cover. If you have a particularly dry summer, go ahead and water it lightly.
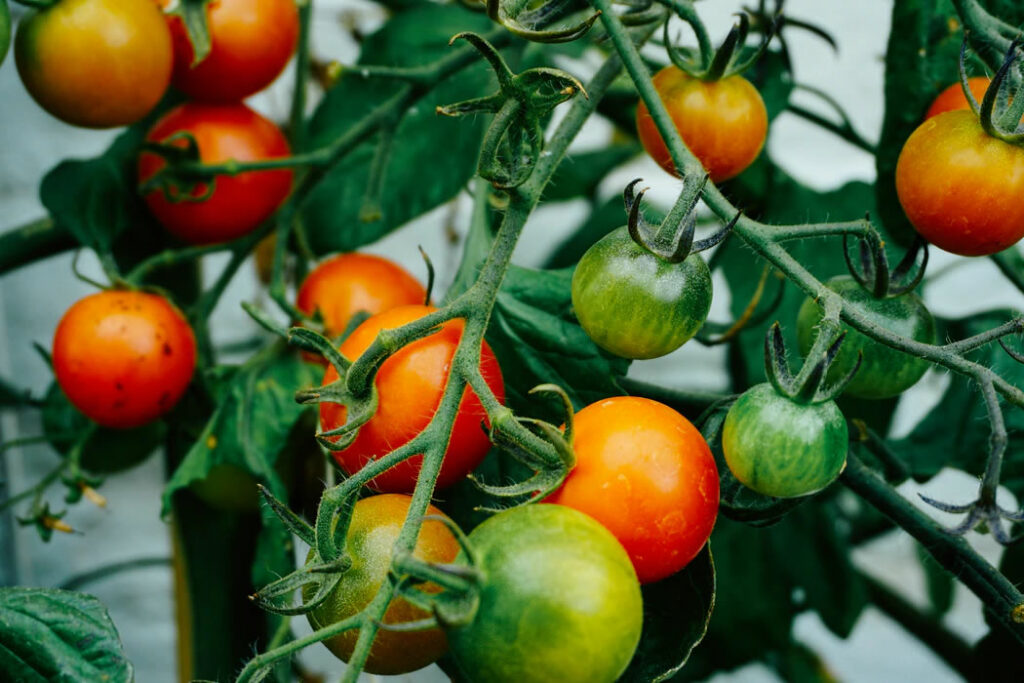
As the plants mature, they will begin growing their reproductive parts, called scapes. The scapes are long, usually curly, shoots that grow out of the very top of the plant. There is a small bulge in the shoot, which gets larger and larger as the plant matures. Eventually the bulge grows into a flower, which in turn produces a seed head. The seeds are soft and very garlicy-tasting. They probably have a culinary use, but I have never experimented with them.
Many growers will cut the scapes when the bulge first begins to appear in them. They say that this helps the plant put more energy into bulb production, which makes sense. We cut the scapes on our garlic. It’s an exciting time of the summer, because it’s like an early harvest. The scapes have all kinds of food uses. Basically, you can use them just like you use chives or green onions, except they give your food a very nice garlic flavor instead of an onion flavor. They are great in stir fries, soups, and casseroles. I have not tried drying scapes, so I don’t know how they would hold their flavor over time.
How to Harvest Garlic
About one month after the scapes appear, the garlic will be ready for harvest. For us, harvest time is the last week of July or the first week of August. You can tell by watching the leaves die on the plants. The leaves will dies beginning with the top-most leaf and working downward. When the first leaf is dead and the next one is dying, it’s time to harvest.
To harvest, pull the bulbs out of the ground and wash gently in water to get all of the dirt off. Try not to thump the bulbs on anything, as bruises will cause the garlic to rot instead of cure. If you do thump one of the bulbs by accident, use it for food sometime in the next 2-3 days.
How to Cure Garlic
Once the garlic is washed, tie the plants in bunches and hang them in a dry, shaded place. Don’t expose them to direct sunlight. We hang ours in the dining room. Some hang theirs in the barn. As long as they stay dry and out of the sun, you’re all set.
Let the garlic hang for about 2 weeks. During this time, it is “curing” so that it will keep longer. The whole plant will dry up during this time, and the outer layer of the bulb will dry. Once cured, clip the bulbs off of the plants about 2 inches above the bulb and trim the roots off the bottoms of the bulbs. Discard or compost the dry plant. Store the bulbs in a net or paper bag.
Do not store the bulbs in a plastic bag or container. They will rot.
When storing, pull out the best-formed bulbs — those with 4-5 nice, large, well-formed cloves. These will be your seed for the next crop. Pull out as many as you need for planting, and eat the rest.
How to Preserve Garlic
Depending on how the garlic is stored, you will notice that at some point in late winter or early spring the cloves will begin to sprout. They are still fine for eating at this point, but as the shoots grow the cloves lose their flavor.
You can preserve your garlic longer by pickling, drying, or freezing it. I have not tried pickling or drying yet, but I have found that it freezes very well. To freeze, peel the paper covering off of the cloves and chop them up to the size that you think you will use them in your cooking. You may wish to wear a glove on the hand that is holding the garlic, because the garlic oil will begin irritating your skin after several minutes of continual exposure.
After chopping, put the garlic in freezer bags, plastic containers, or glass containers (the small jelly jars work nicely!). Add olive oil to fill all the air pockets between garlic pieces. If using a freezer bag, squeeze out all of the extra air at the top of the bag after adding the oil, and seal. With rigid containers, fill with oil as near as possible to the top of the container, then seal the lid tightly. Your garlic is now ready for the freezer.
I love garlic. I put it on almost everything. I’ve even been known to make a garlic “tea” using the scapes. But, one of the things I love most about garlic is how easy it is to grow!