

Effective Natural Pest Control for Homesteaders: Homemade Solutions for a Healthy Garden
Gardens can be a paradise, not just for us but for pesky insects, too. Many gardeners instinctively reach for chemical sprays to keep their leafy …

DIY Composting Guide for Beginners: Getting Started with Composting at Home
Are you staring down the barrel of your ever-growing pile of kitchen scraps and garden clippings, wondering if there’s a better way than sending it …
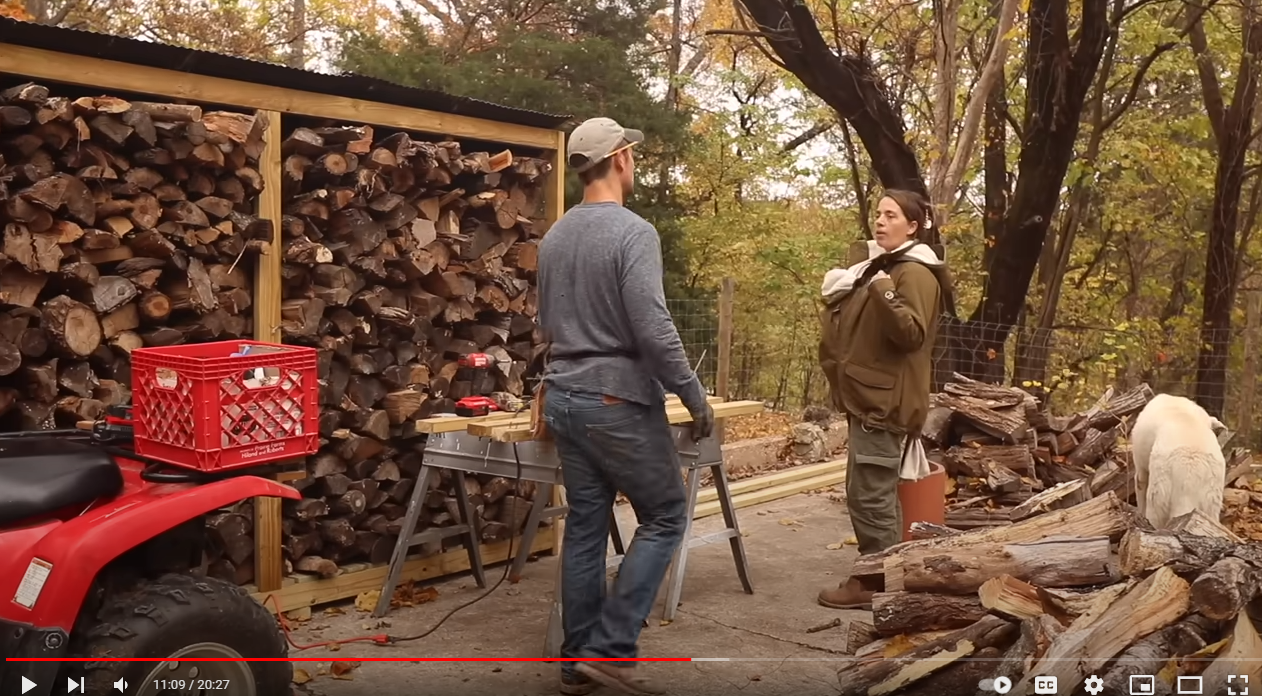
Lisa’s Family Transforms Life from City to Homestead, Inspiring Thousands Online
Missouri, USA – Lisa, a mother of eight and the creative force behind the popular YouTube channel “Farmhouse on Boone,” has led her family on …
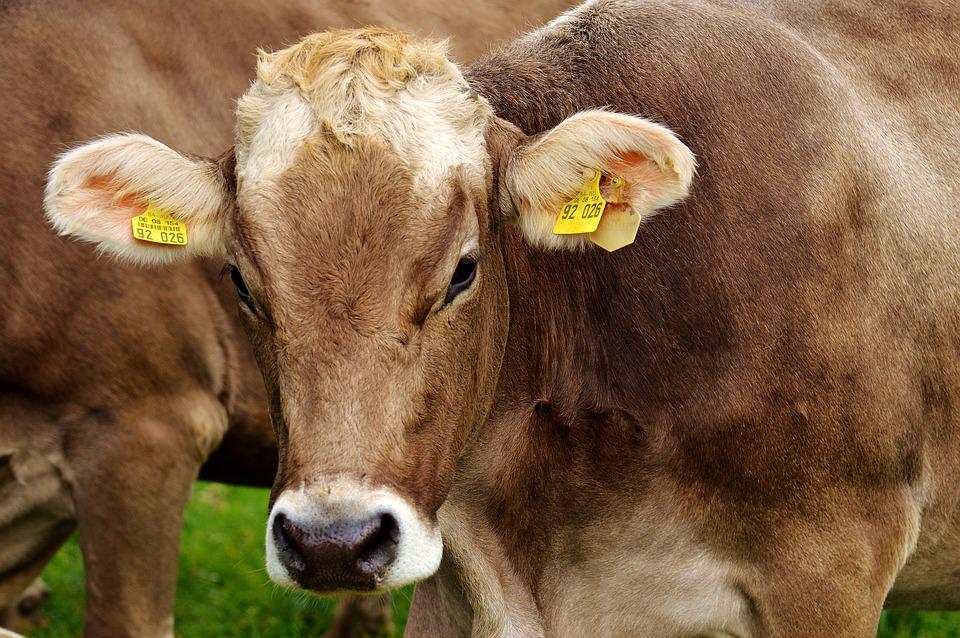
USDA Pushing Again For Electronic Tagging of Cattle
As a fellow homesteader writing for ChristianHomesteading.com, I want to share a pressing issue that’s been on my mind lately. It’s about the USDA’s push …
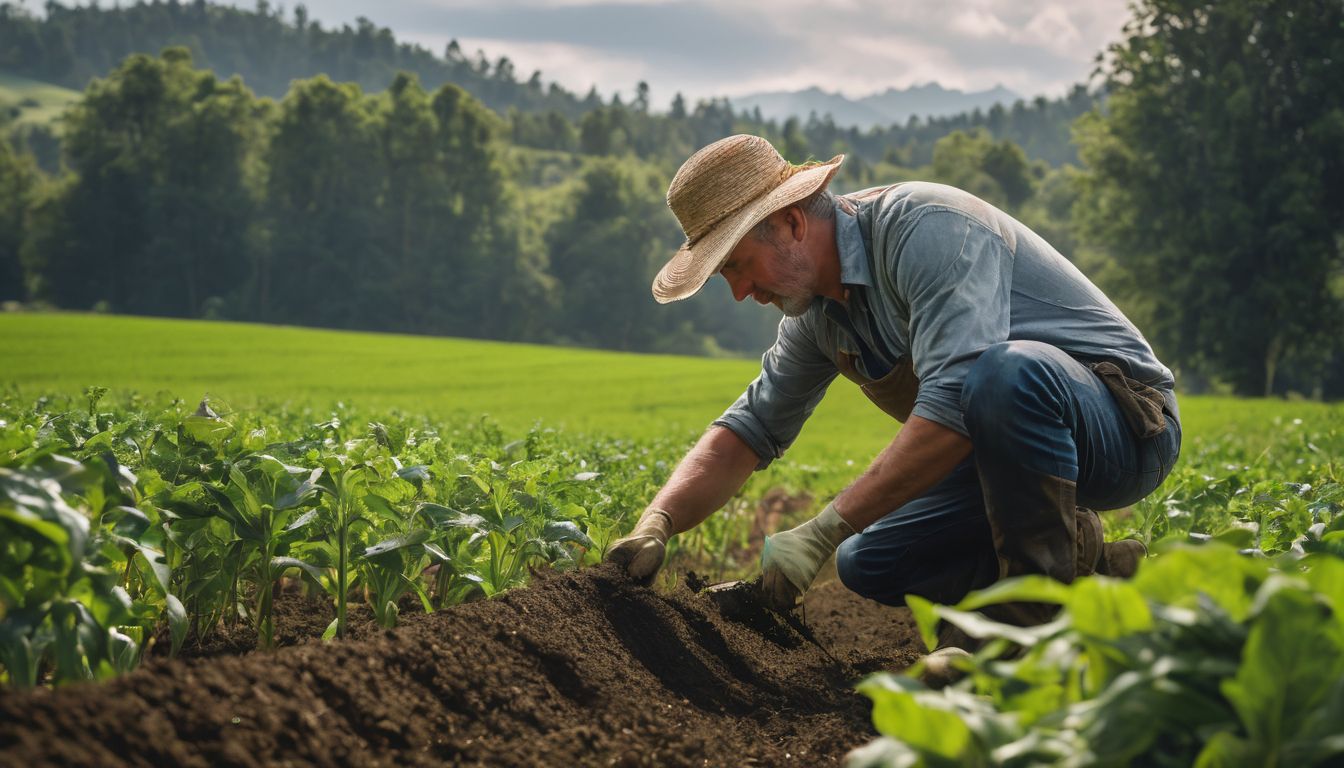
The Benefits of Agroforestry: A Comprehensive Guide
Are you looking to get more from your land while caring for the environment? Many farmers and landowners face the challenge of balancing productivity with …
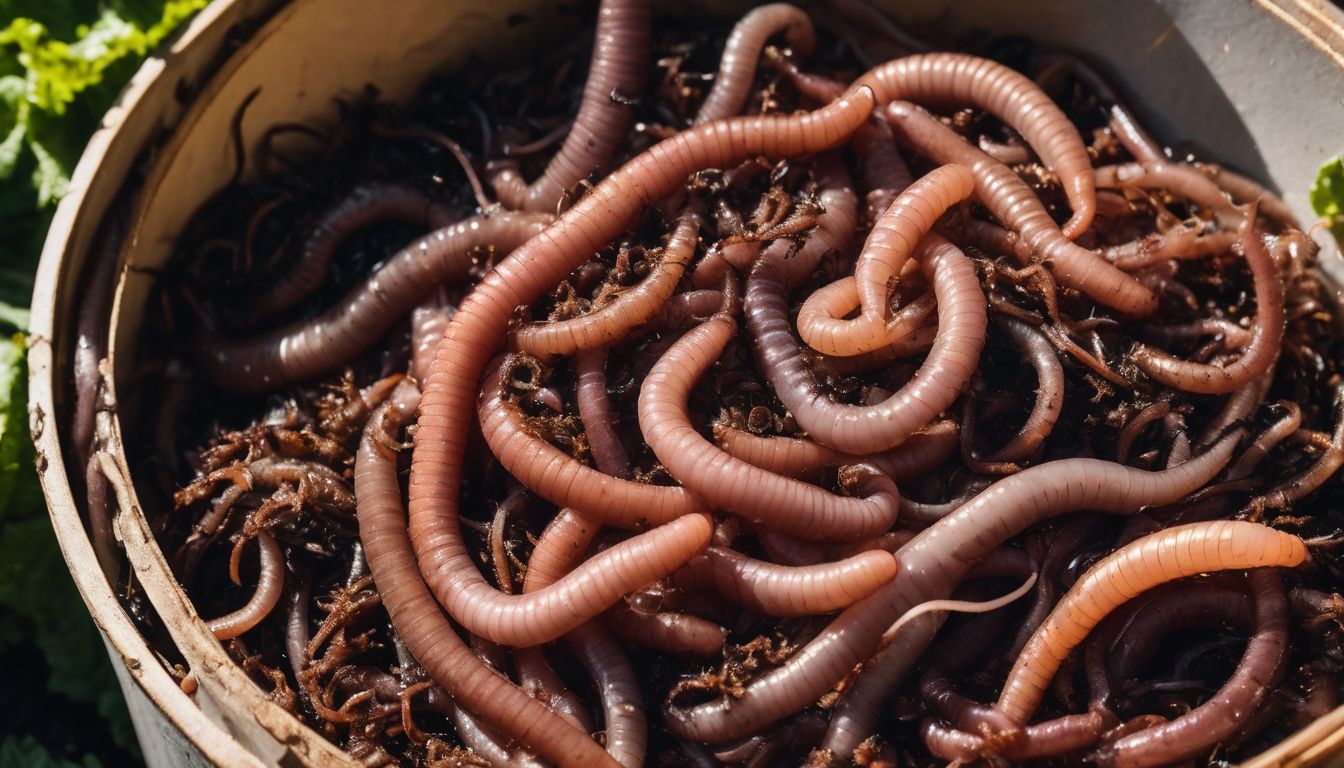
The Ultimate Guide to Vermiculture: Everything You Need to Know
Are you tired of tossing your kitchen scraps into the trash, only to see them contribute to the ever-growing pile of waste? Want a greener …